How to replace USB Z-Stick with Z-Net for network based Z-Wave connection in HomeSeer

How to replace USB Z-Stick with Z-Net for network based Z-Wave connection
Would you like to have a network based Z-Wave connection for controlling your lights or other Z-Wave devices? For this, you can use Z-Net from (sponsored link) HomeSeer. Note that Z-net comes in 4 versions, one for Australia, Europe, UK, and the US. This has to do with the Z-Wave frequency.
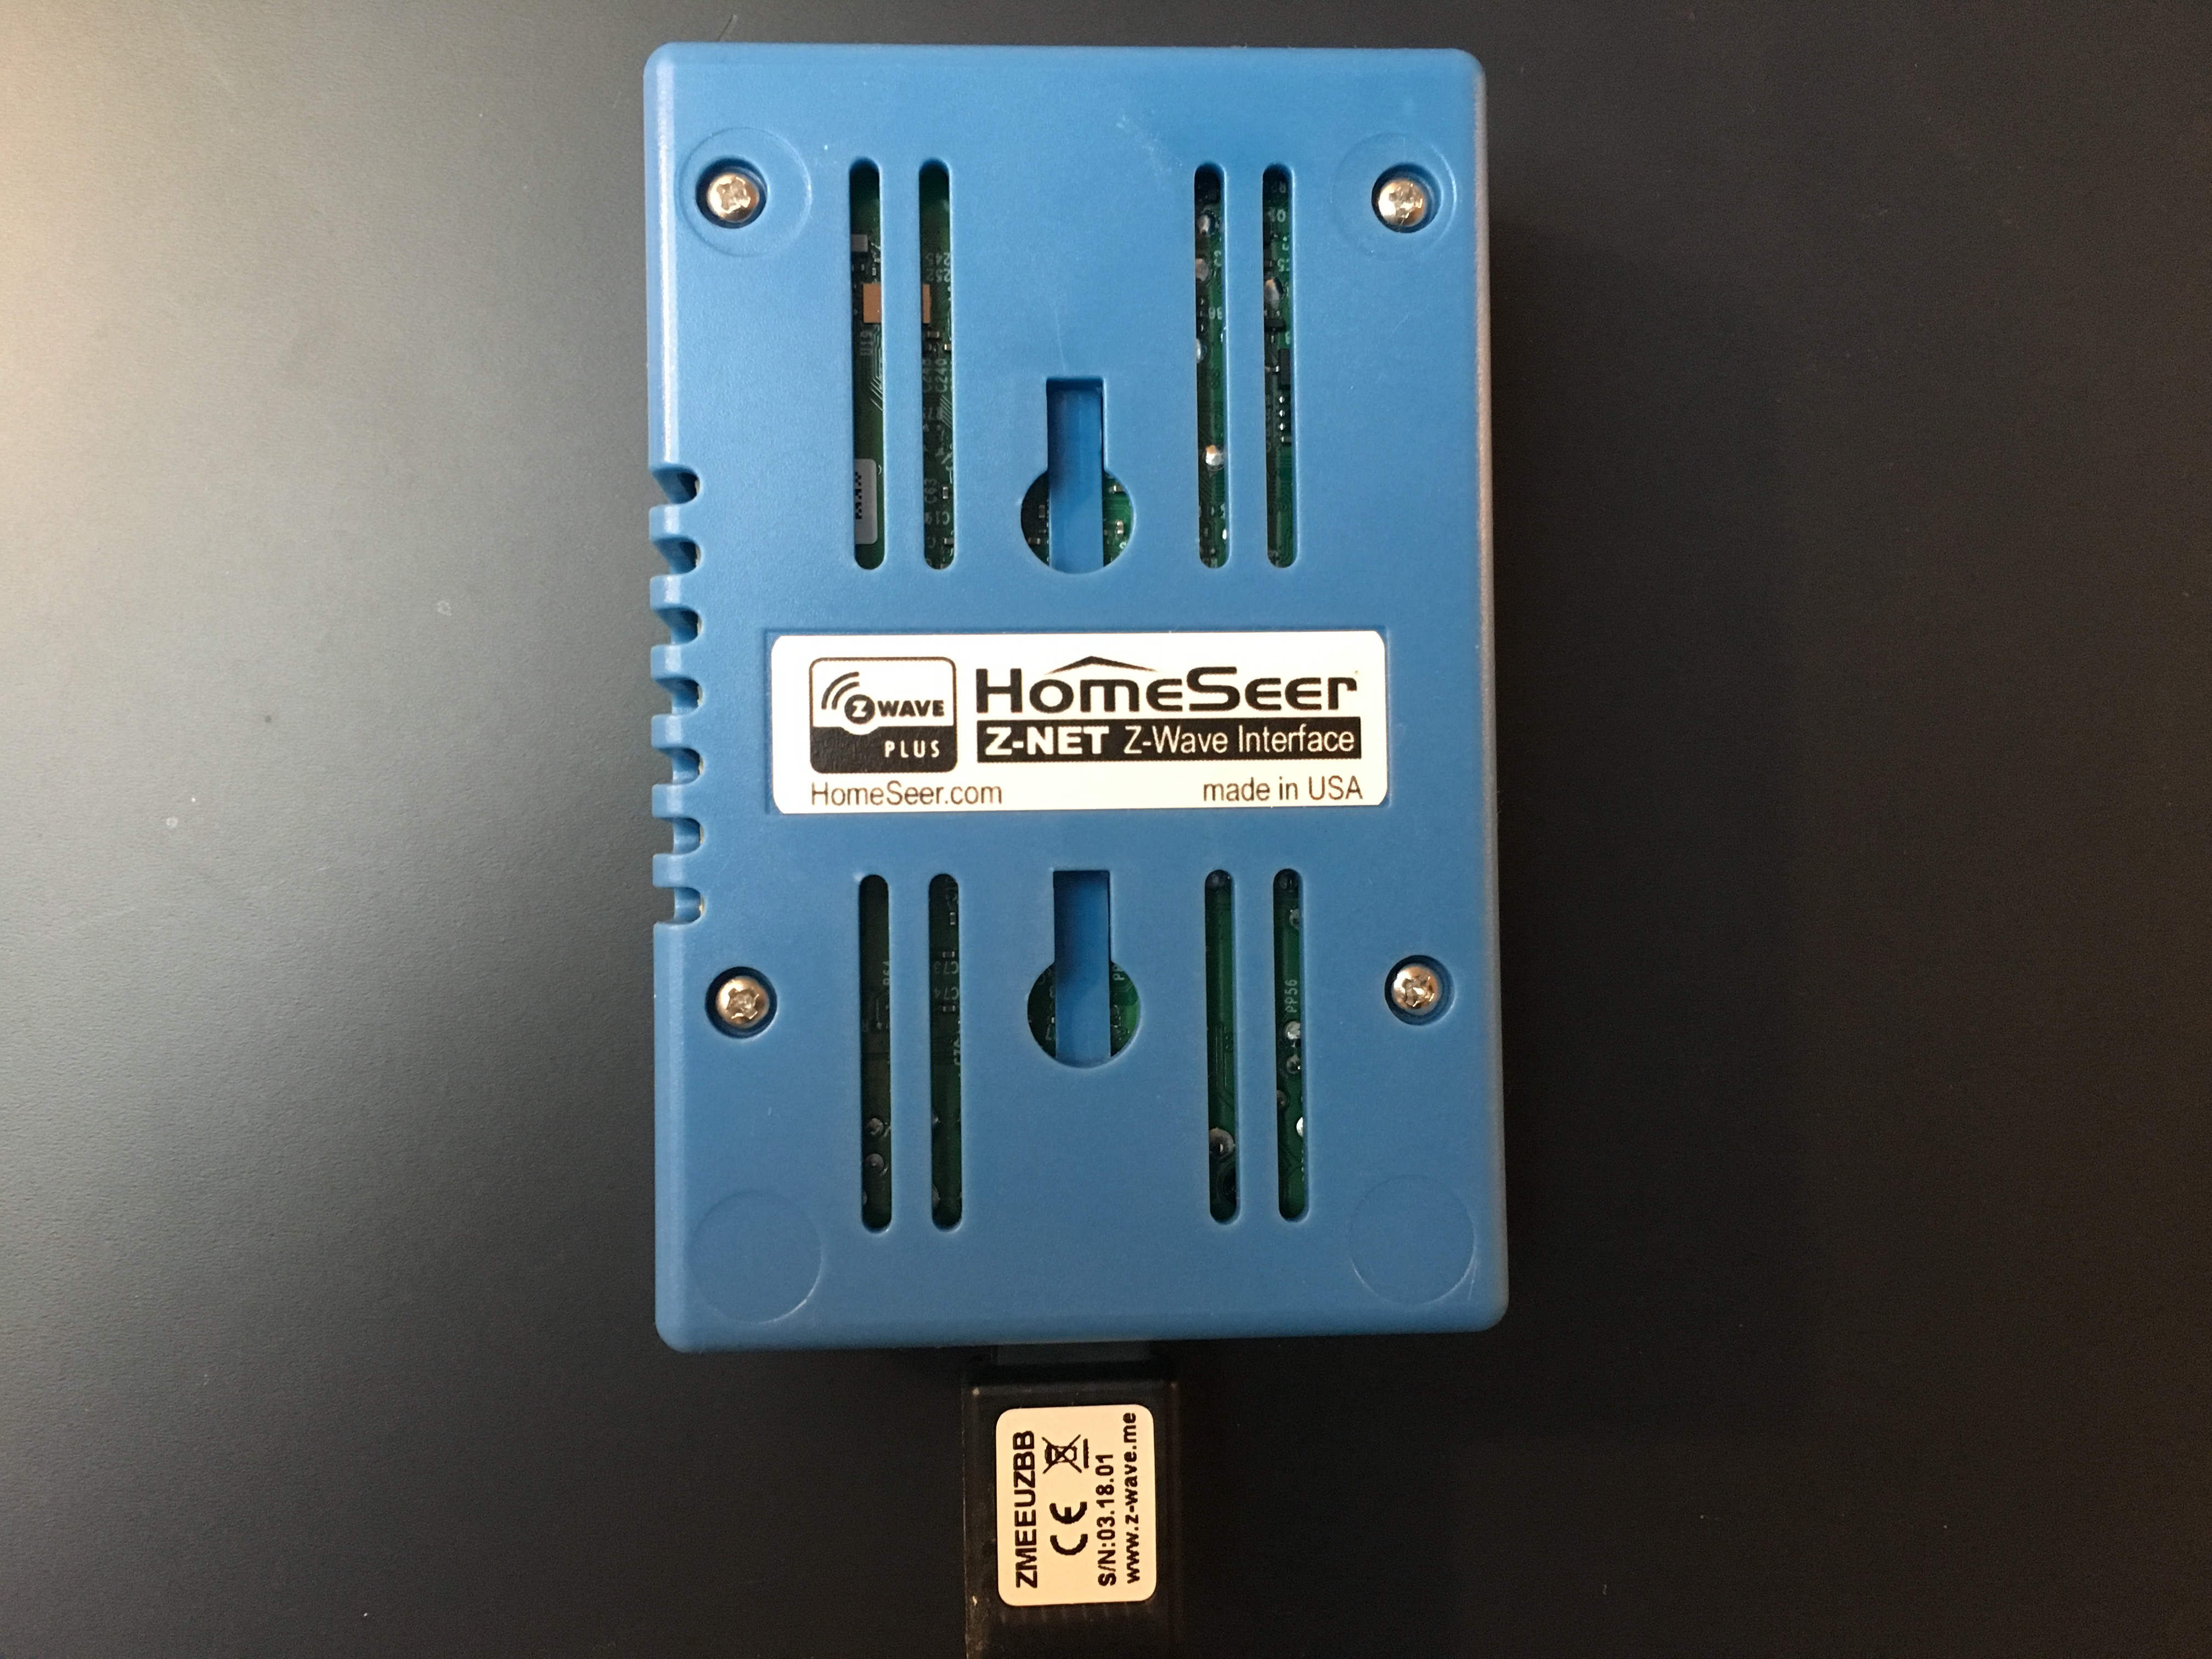
In this guide, I will show how to move from Aeotec Z-Stick to Z-NET. The USB stick could also have been UZB from Z-wave.me.
Why should you go for Z-NET?
- To expand your Z-Wave, for example, if you have a big house.
- Have a secant location you want to control with one HomeSeer server.
- HomeSeer server in on another network.
- HomeSeer server is hosted on a cloud service like AWS or Google Cloud
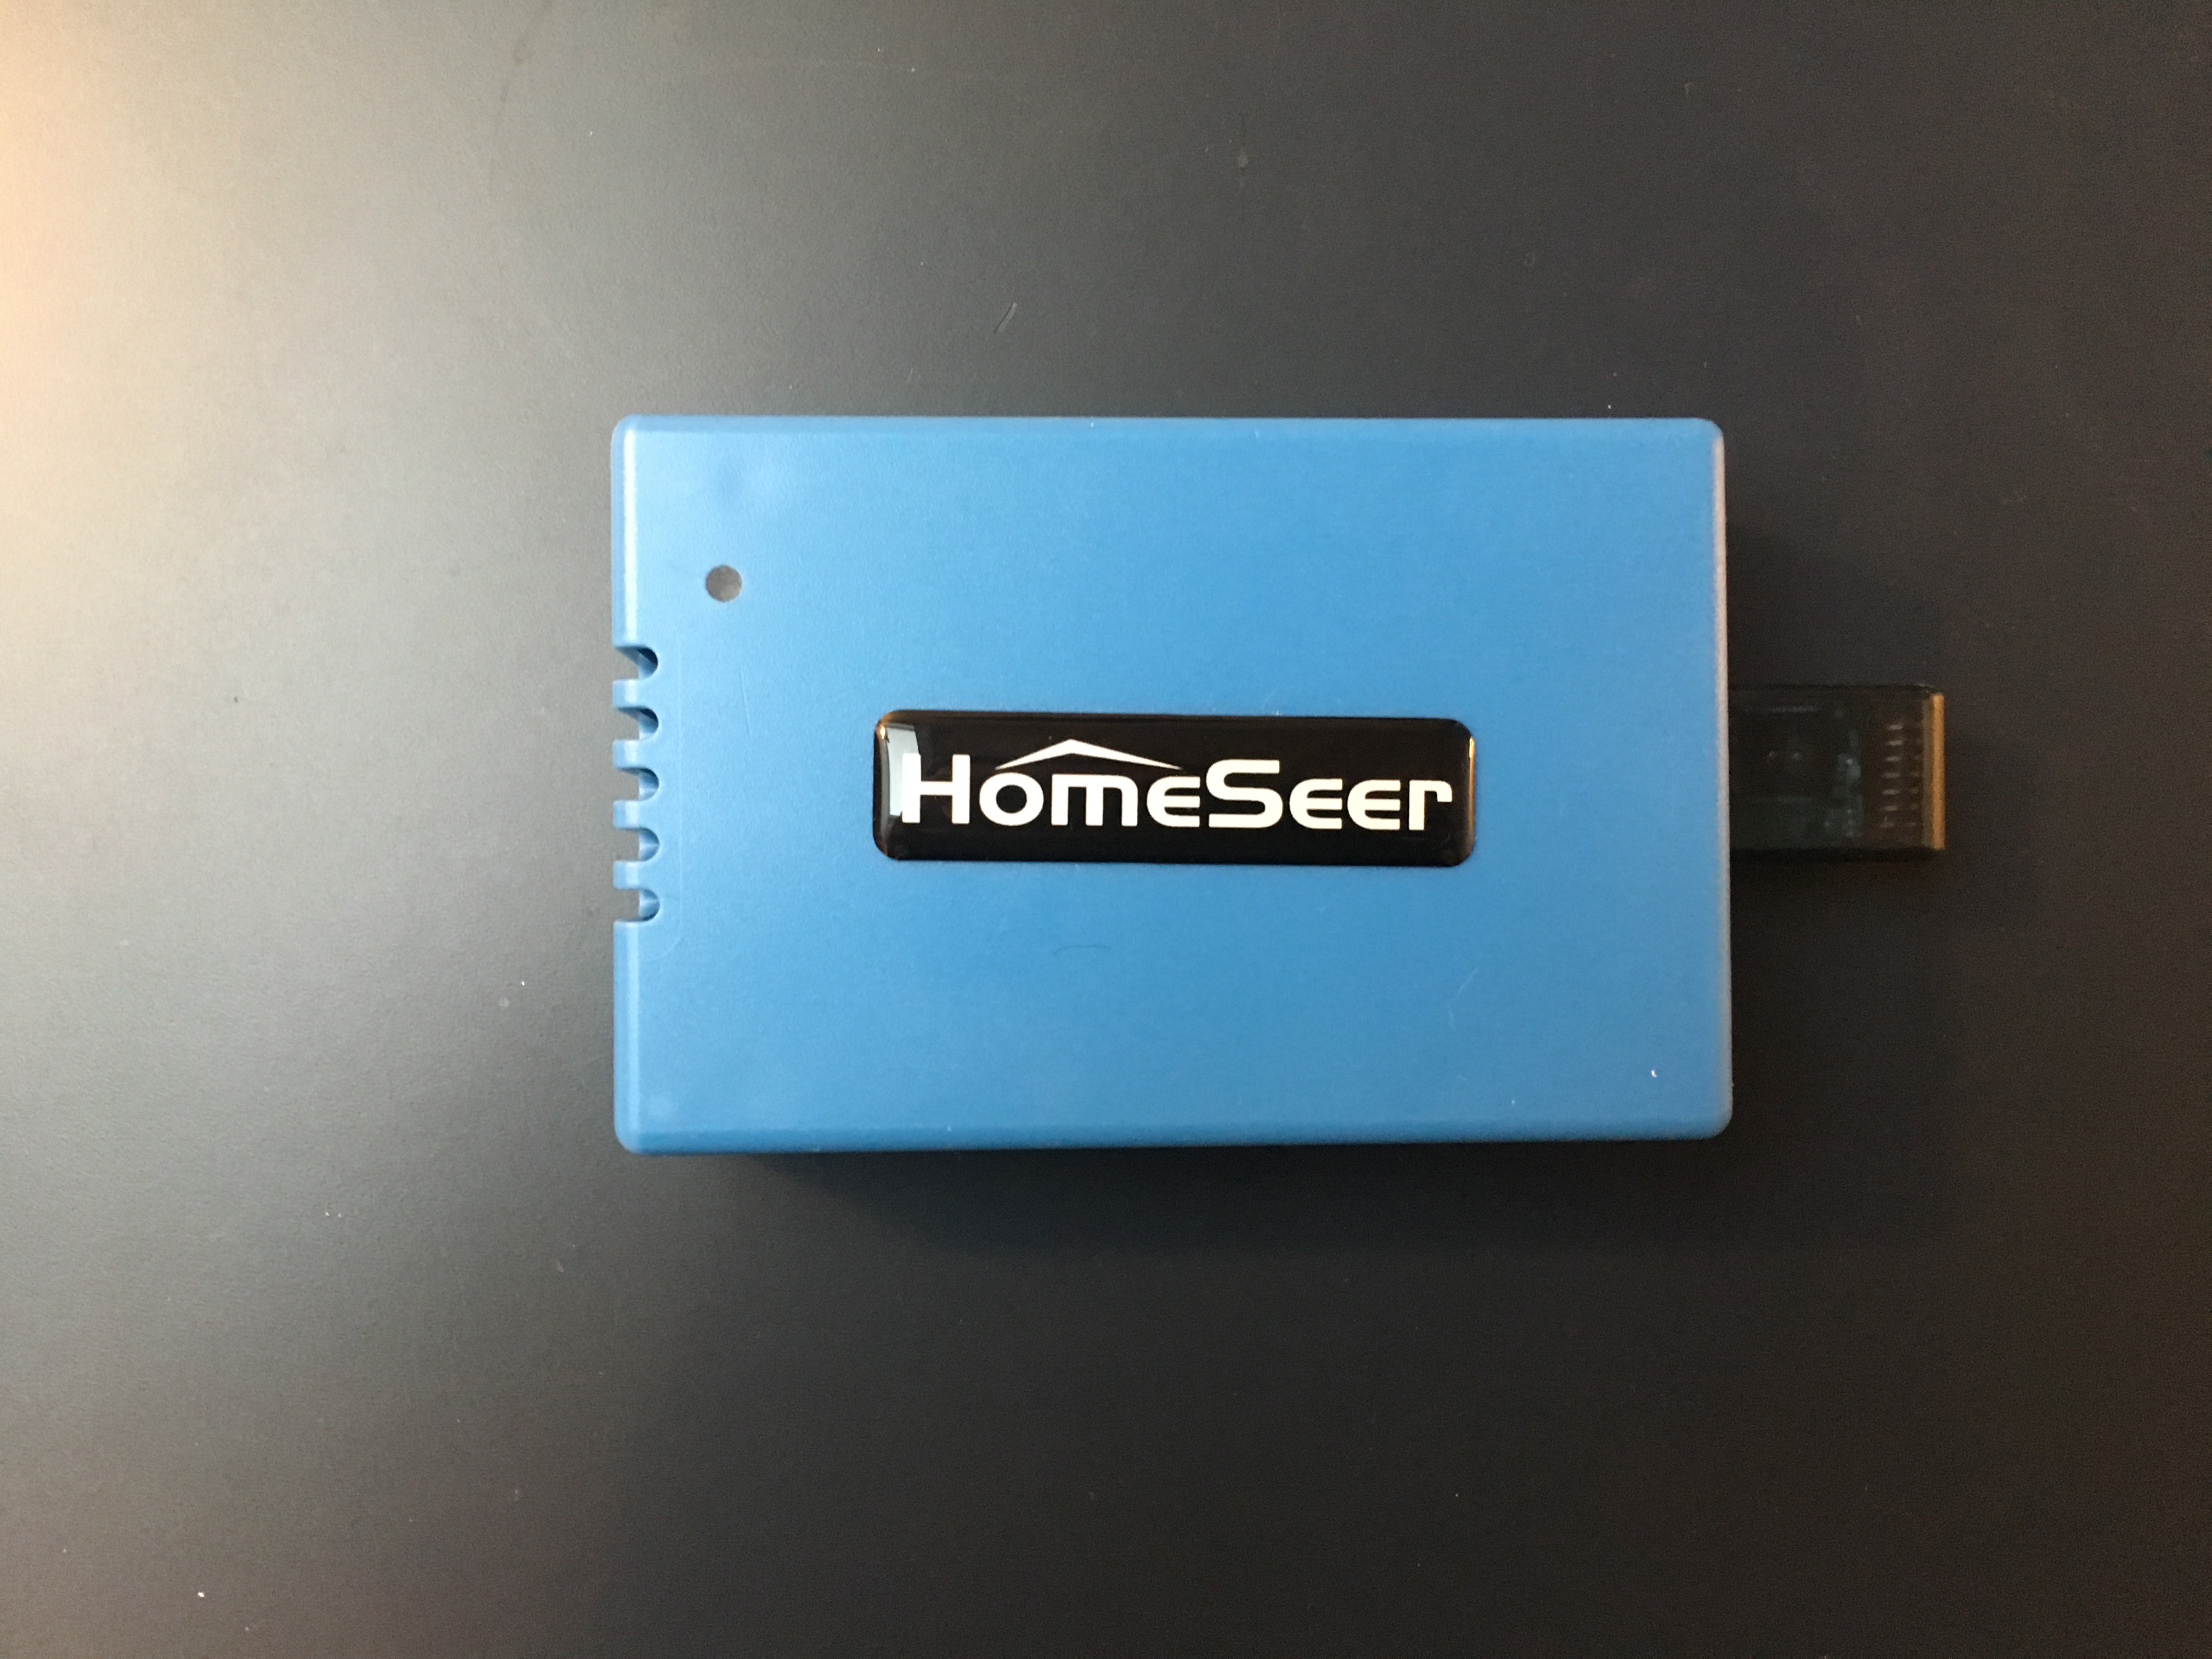
The Z-Net EU model looks like this and comes with a US Power supply including a EU plug apdater. The hardware is based on a Raspberry Pi.

First backup of USB Z-Stick
The first thing you want to do is to backup your USB Z-Stick, so you can restore the notes in your Z-Net.
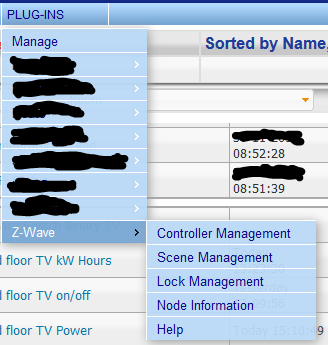
Open HomeSeer by typing the IP address in your internet browser. Use the top menu, go to Plug-ins – Z-Wave – Controller Management.
Expand the Z-Wave USB interface, and under actions select “Back Up this interface”.

Enter a filename or remember the default name.
Select “START” to begin the Backup process.
Disable and delete the USB interface
When the Backup is done, you need to disable the USB Z-stick. This can be done by clicking on the green checkmark.

When it is disabled the icon will look like this.

Now delete the Z-Stick interface by clicking the X.
![]()
The Z-Stick USB interface is now removed from your HomeSeer.
Connect your Z-NET to your network
When Z-NET is connected to your local Network by cable, you can see the IP address by using this address. http://find.homeseer.com/
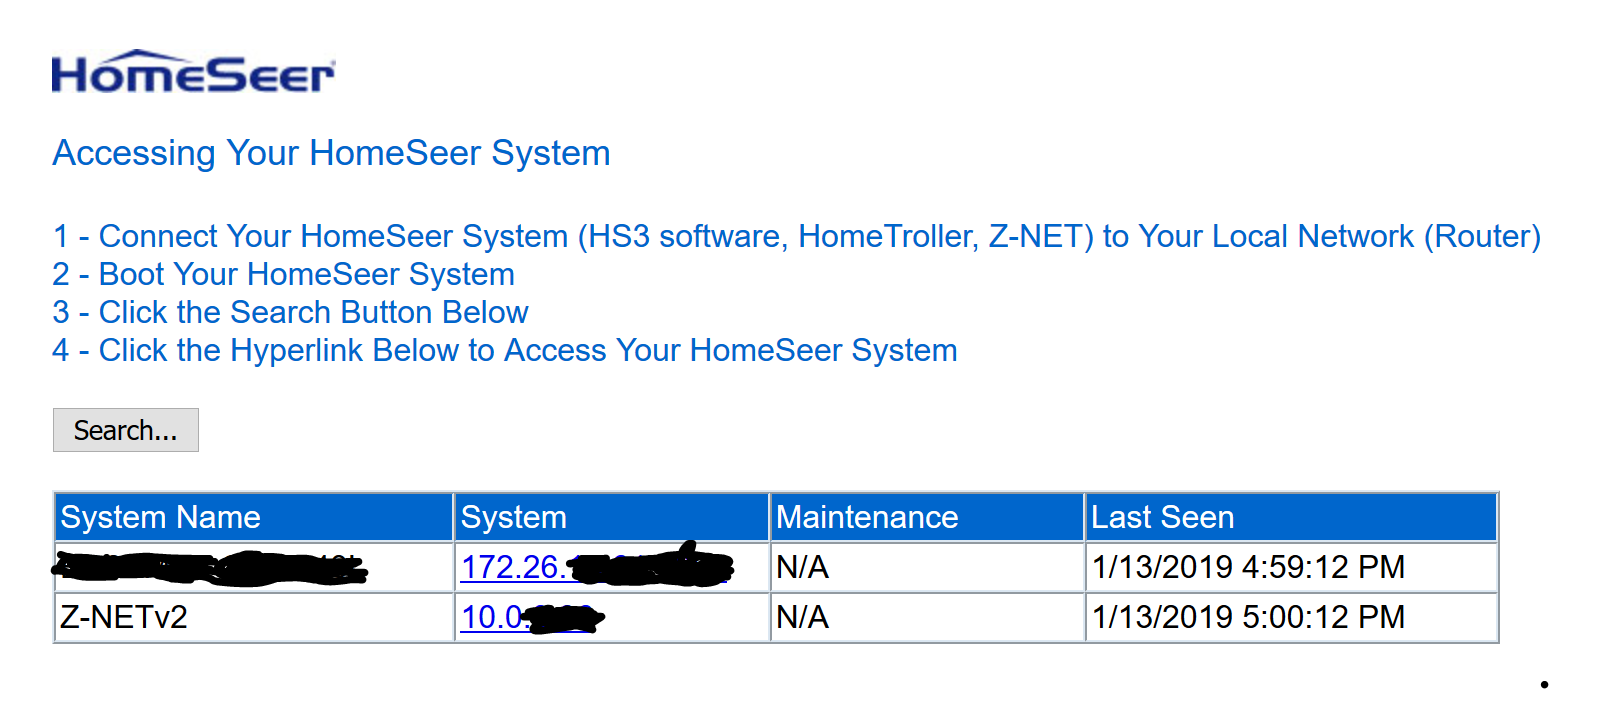
If you click on the IP address besides Z-NET under System, you will enter the configuration page.
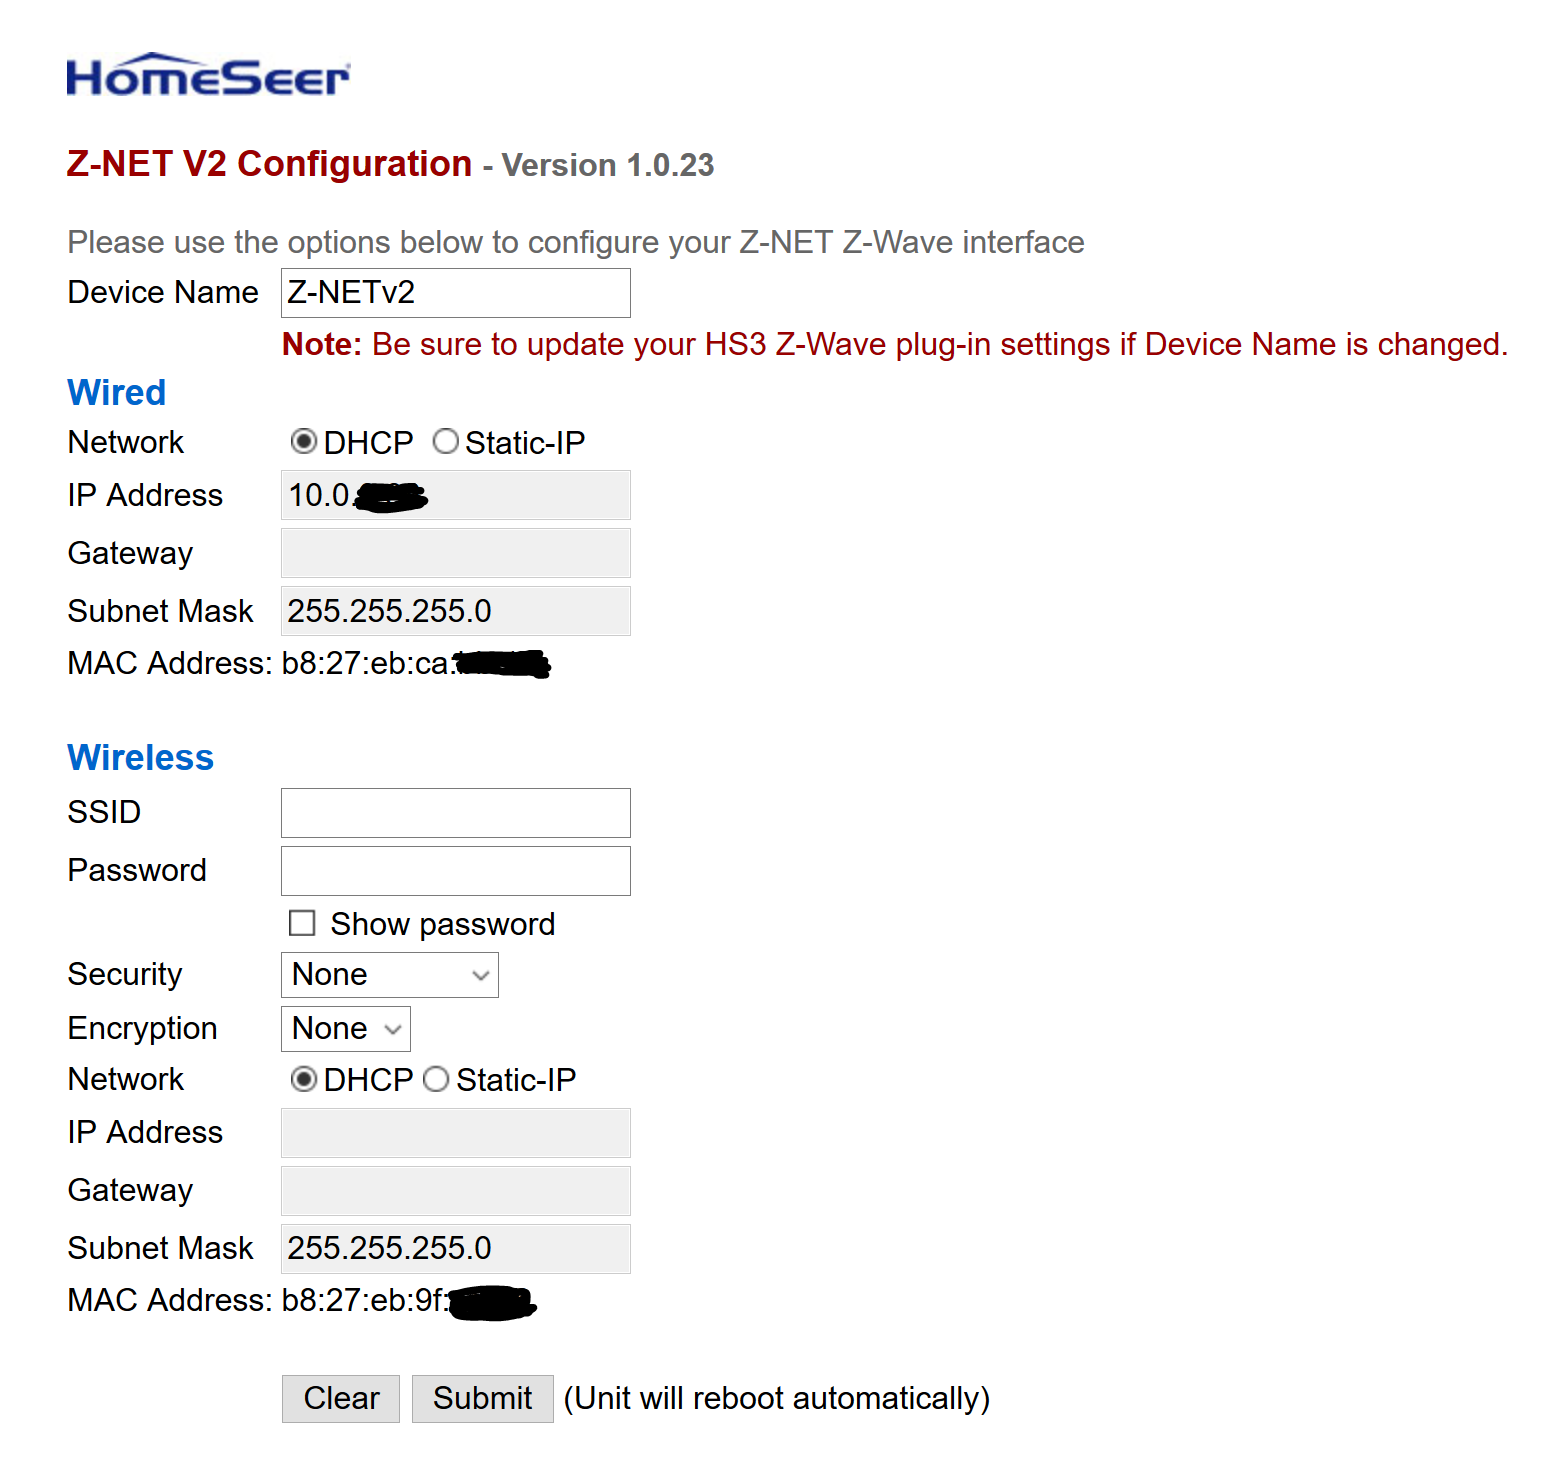
I recommend setting a static-IP or setup your DHCP server to assign the same IP address to the Z-NET unit. Take note if the IP address, you need this in the next step.
Connect Z-NET to HomeSeer
Go back to your HomeSeer web interface by typing the IP address in your internet browser. Use the top menu, go to Plug-ins – Z-Wave – Controller Management.
Click on “Add Interface”. Give the new interface a name. Under Interface model select “Ethernet Interface”, you can also use “HomeSeer Z-NET Ethernet” but I had the best experience with Ethernet Interface. Type the IP Address of the Z-Net in the felt IP Address. You need to enter “2001” in Port Number.

Click now “Add”.
Select “Restore a Network to this Interface” in Actions. If you can’t select anything from Actions, see if your interface is enabled and shows a green checkmark. Select the Backup you previously made from the old USB Z-Stick interface.

Select now “Confirm” to restore the settings from USB Z-Stick to your new interface.
Fully Optimize your Z-Wave network
To complete the installasion you need to preform a “Fully Optimize a Network”, select this in actions and click start.

The interface is now ready for use. This setup event or new Z-Wave devices this can also be fundt on this site.